I had a vision for a wall in our dining room. I wanted it to be bold and yet subtle. A statement wall that didn’t speak too loudly. I wanted a burst of color but am natrually drawn to neutrals. It’s a wall of contridictions.
On top of that, I wasn’t sure exactly what the finish was that I imagined. You might say it looks a little concrete-ish or even like plaster. I saw something that mixed with an old world feel and sort of looked like a chalkboard that you’ve just kind of erased – with streaks of white still stretch across it.
I’d been dreaming about this wall for a couple months and then in true Shelby style, 2 days before Thanksgiving I decided that I couldn’t wait any longer and wanted to do a little dining room update before the big feast. As luck would have it, it was an incredibly quick project. And easy, Gretta even hopped on board helping out. I did it, documented it and moved on… then never posted the results. Until now.
So in full disclosure, this project was done nearly a year and a half ago. I’m jogging my memory with old recorded Instagram stories and photos that I had never bothered to download off my SD card. I’m still sure I can talk you through it if you’d like to replicate something like this youself. It would also make a really great finish for a styling board for photography backdrops and flatlays, even if you aren’t interested in committing to adding it into your home.
To Begin:
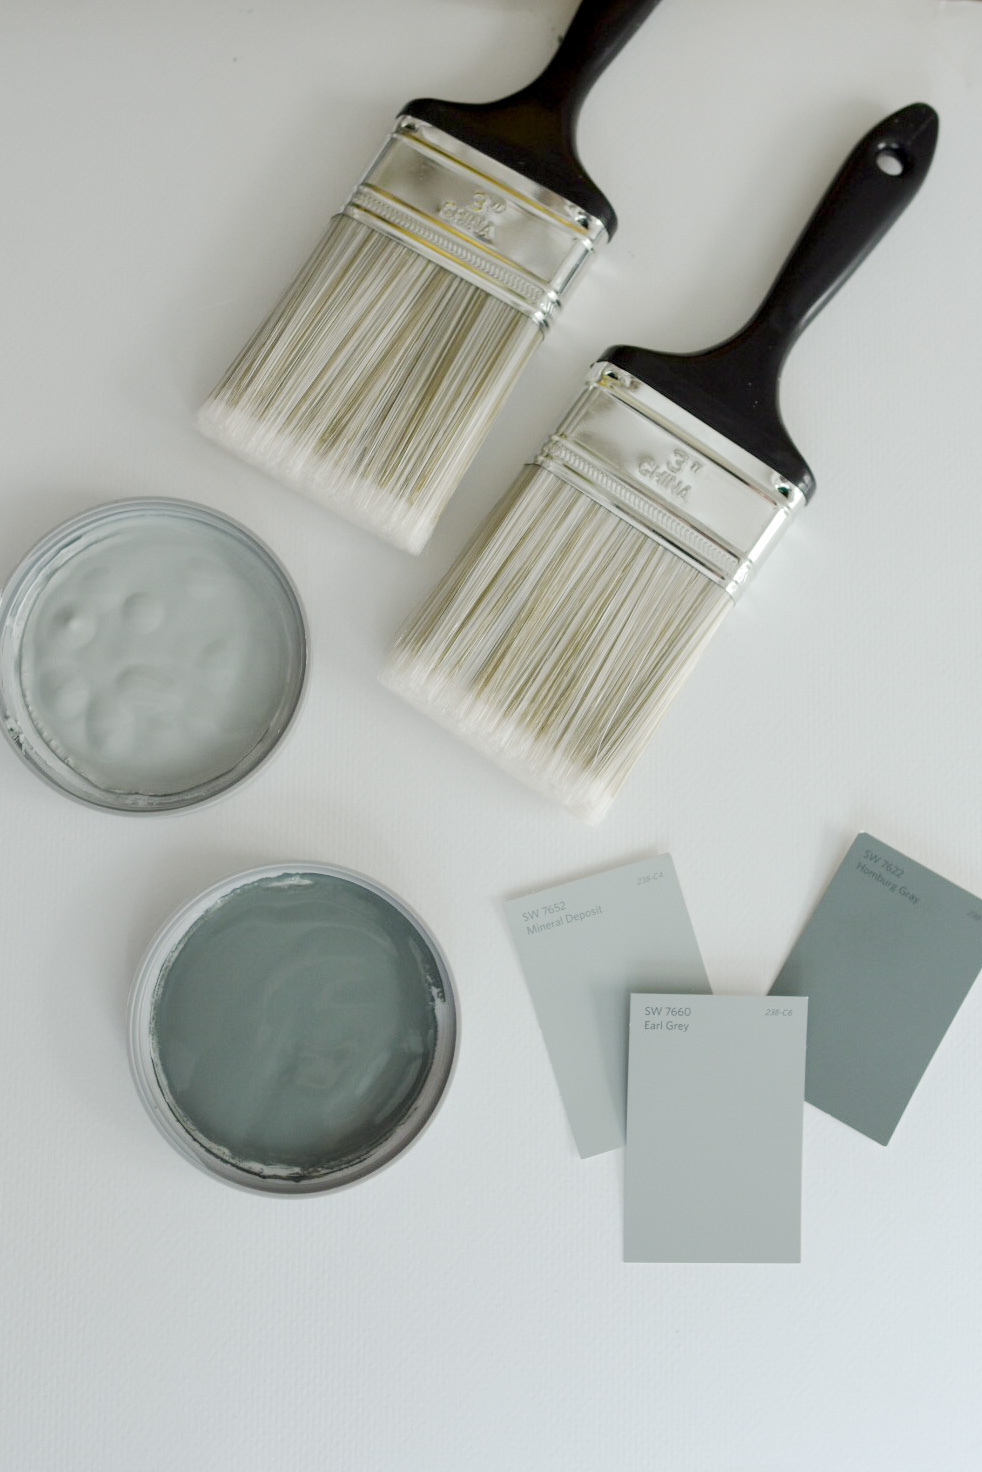
Figure out what color you want your wall to be. The overall color that was speaking to me was Sherwin Williams Earl Grey. However, I did not purchase that paint. Instead, I found a tone that was 1 shade lighter than it and 1 shade darker and bought a quart of each of those. Combined, they will give me the desired level of darkness.
Other Materials Needed:
- 2 colors of paint (I used SW Mineral Deposit & Hamburg Grey)
- a large sponge
- 2, 3inch paint brushes
- 1 smaller paint brush for dry brushing
- painters tape if you’re slopping (I myself am daring enough to go without)
My walls were orginally a soft buttery yellow. I figured it was a light enough hue that my paint selection would cover it. If your walls are darker than your selected medium tone, then I would recommed adding a coat of primer to them before you begin your project.
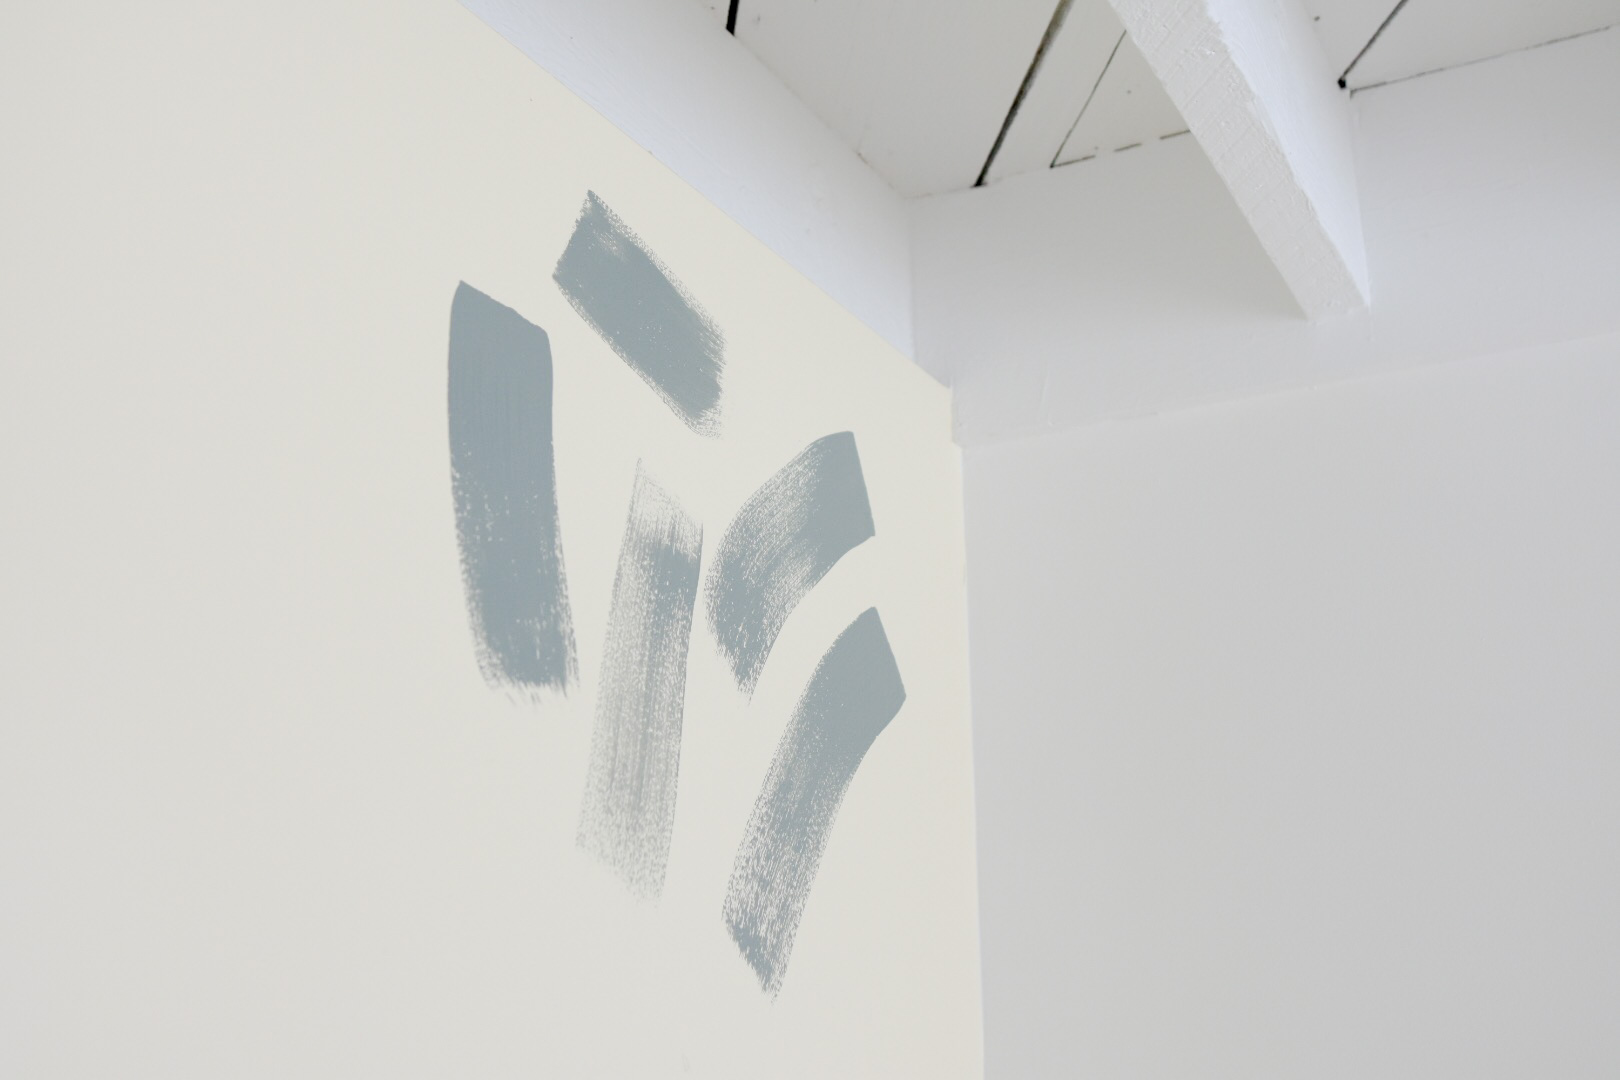
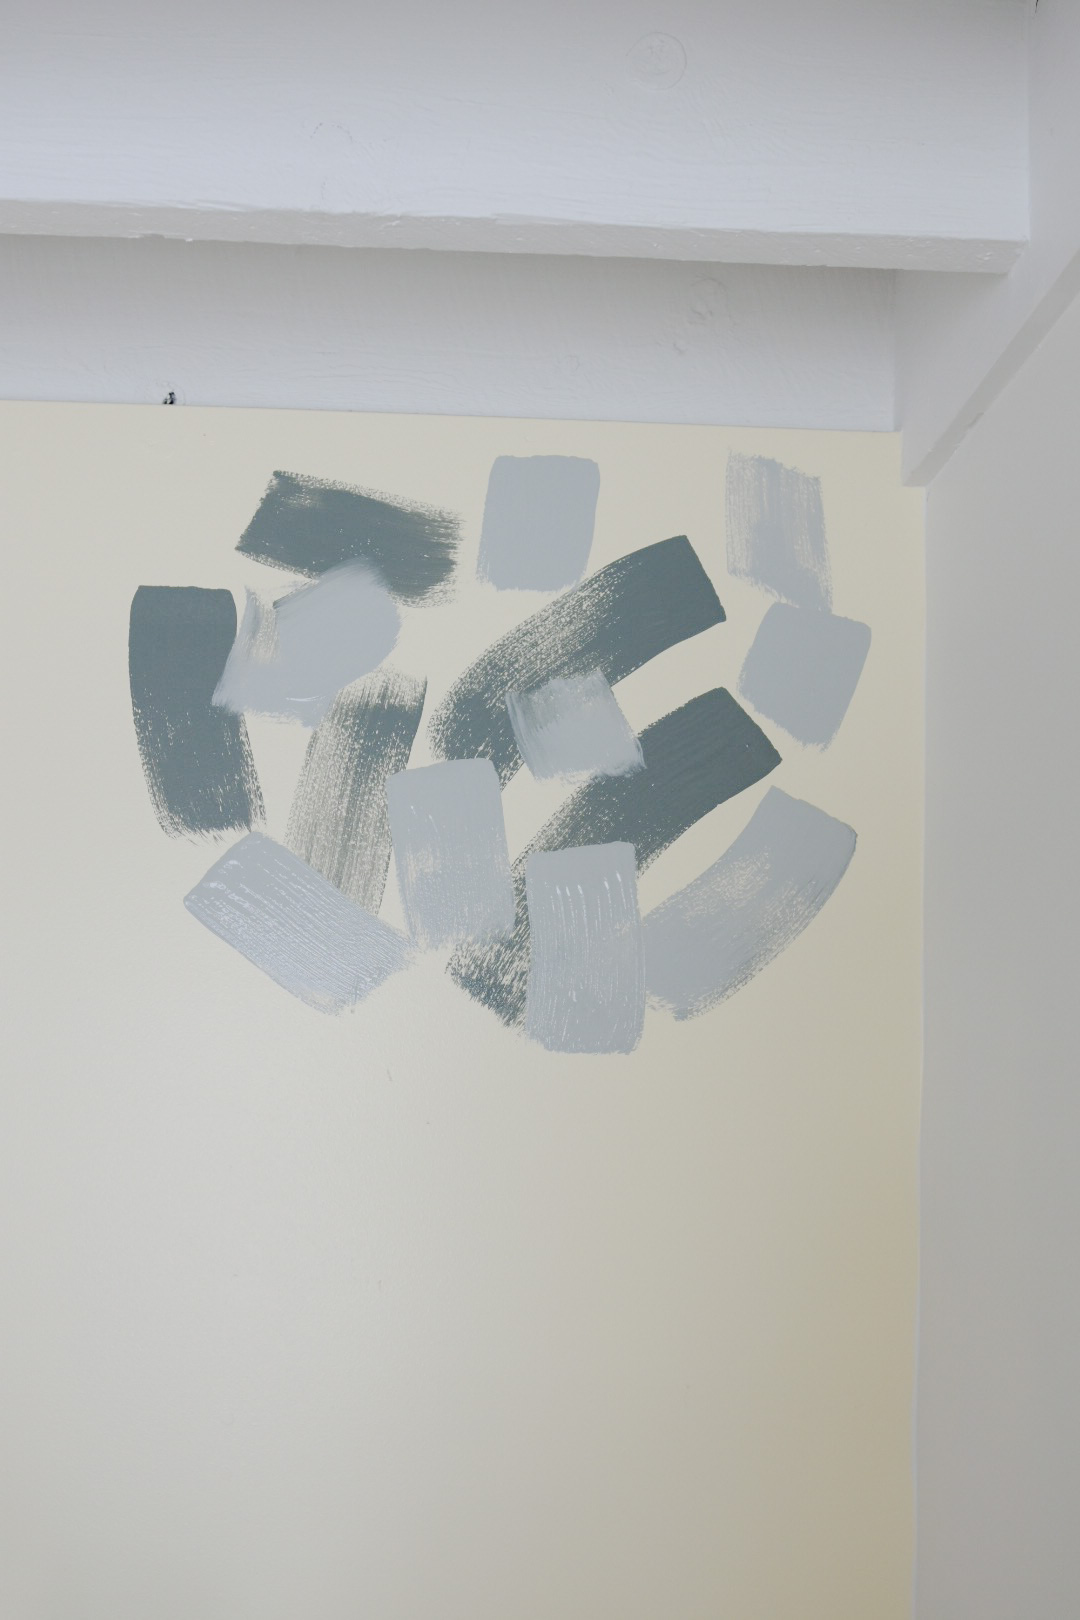
Using your large, 3 inch paintbrush begin adding large swishes of paint to the wall. Add a few dark and then a few light, tackling section of the wall at a time. I mentally dividided my wall into 3×3 foot sections.
Next, prime the sponge with just a quick layer of paint, brushing it one with large brush. You’re actually painting the sponge, not the wall in this step. Don’t completely cover the sponge, but it helps to have a little extra paint on it when you begin blending the paint on the wall. Gently, begin blotting the paint on the wall, using small dabbing motions that will begin to blend the 2 tones of paint together.
Warning, it looks like 90’s sponge painting at this point and is not pretty. Keep going. If you’re seeing too many round sponge holes, being dabbing a little harder in places with will vary the texture.
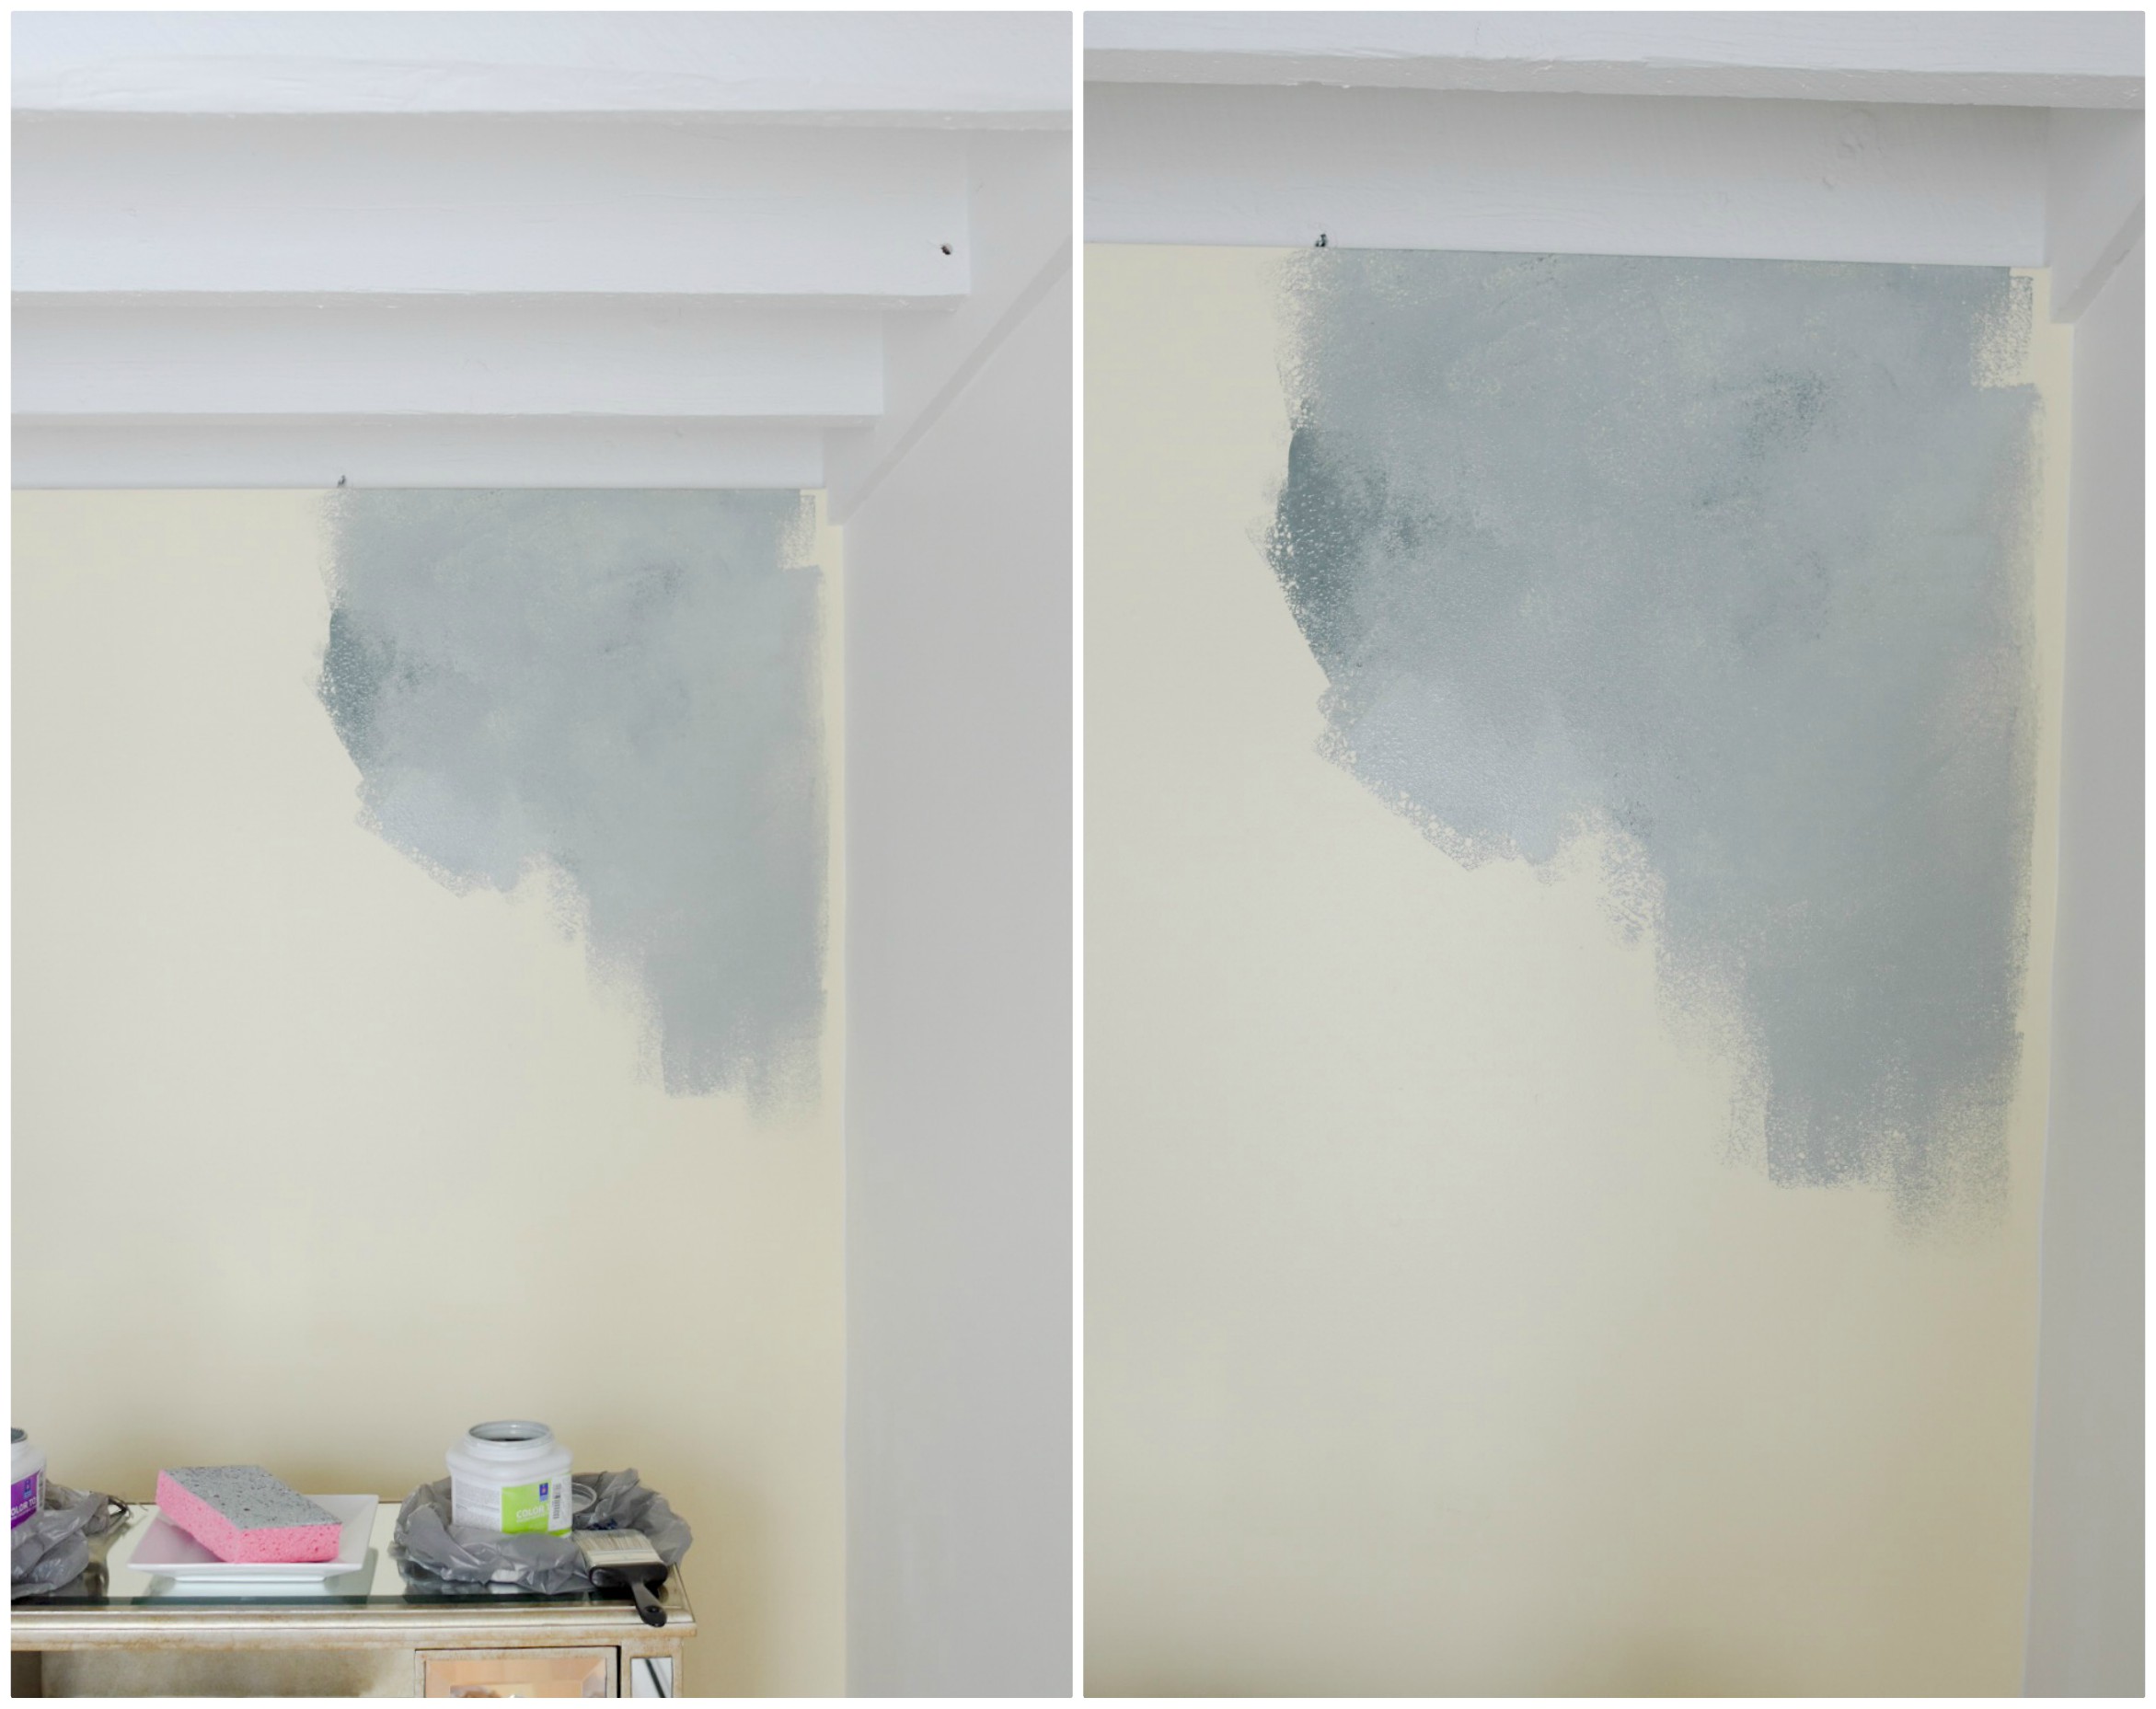
Now take your dry brush and smear the paint. Use brush strokes in various directions. Keep playing with the texture until you start liking it. Then move onto the next section and repeat.
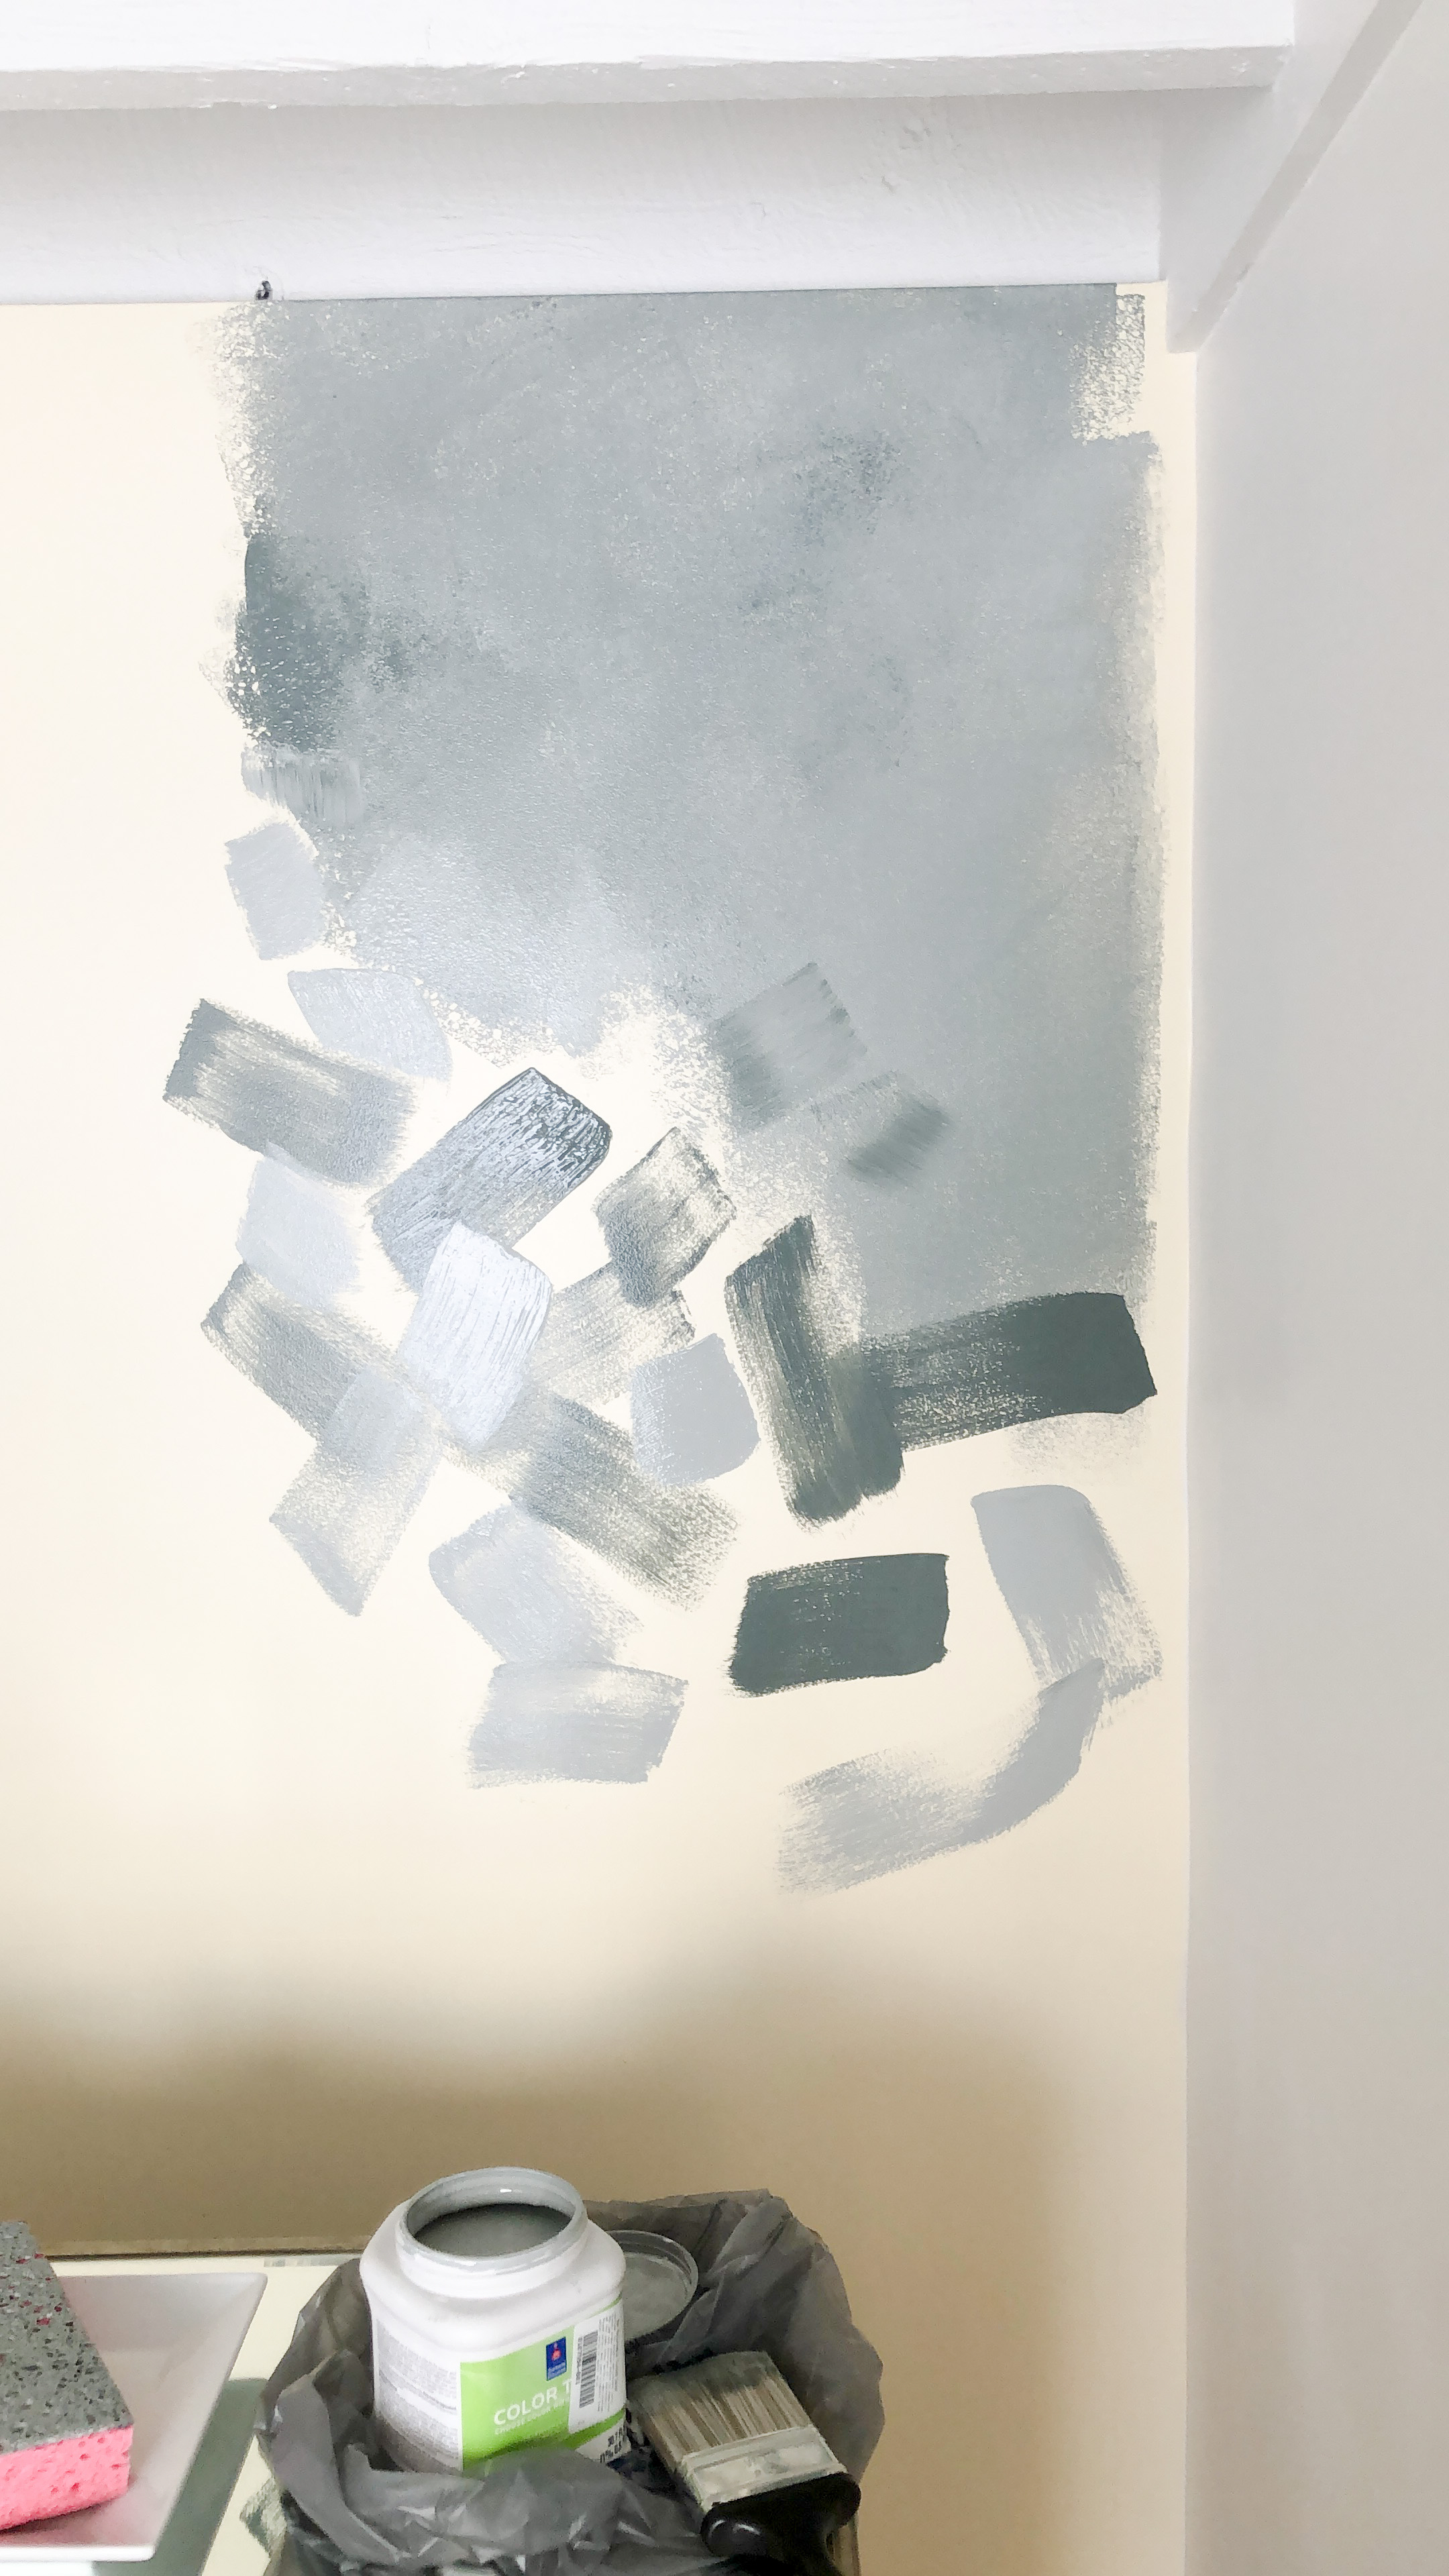
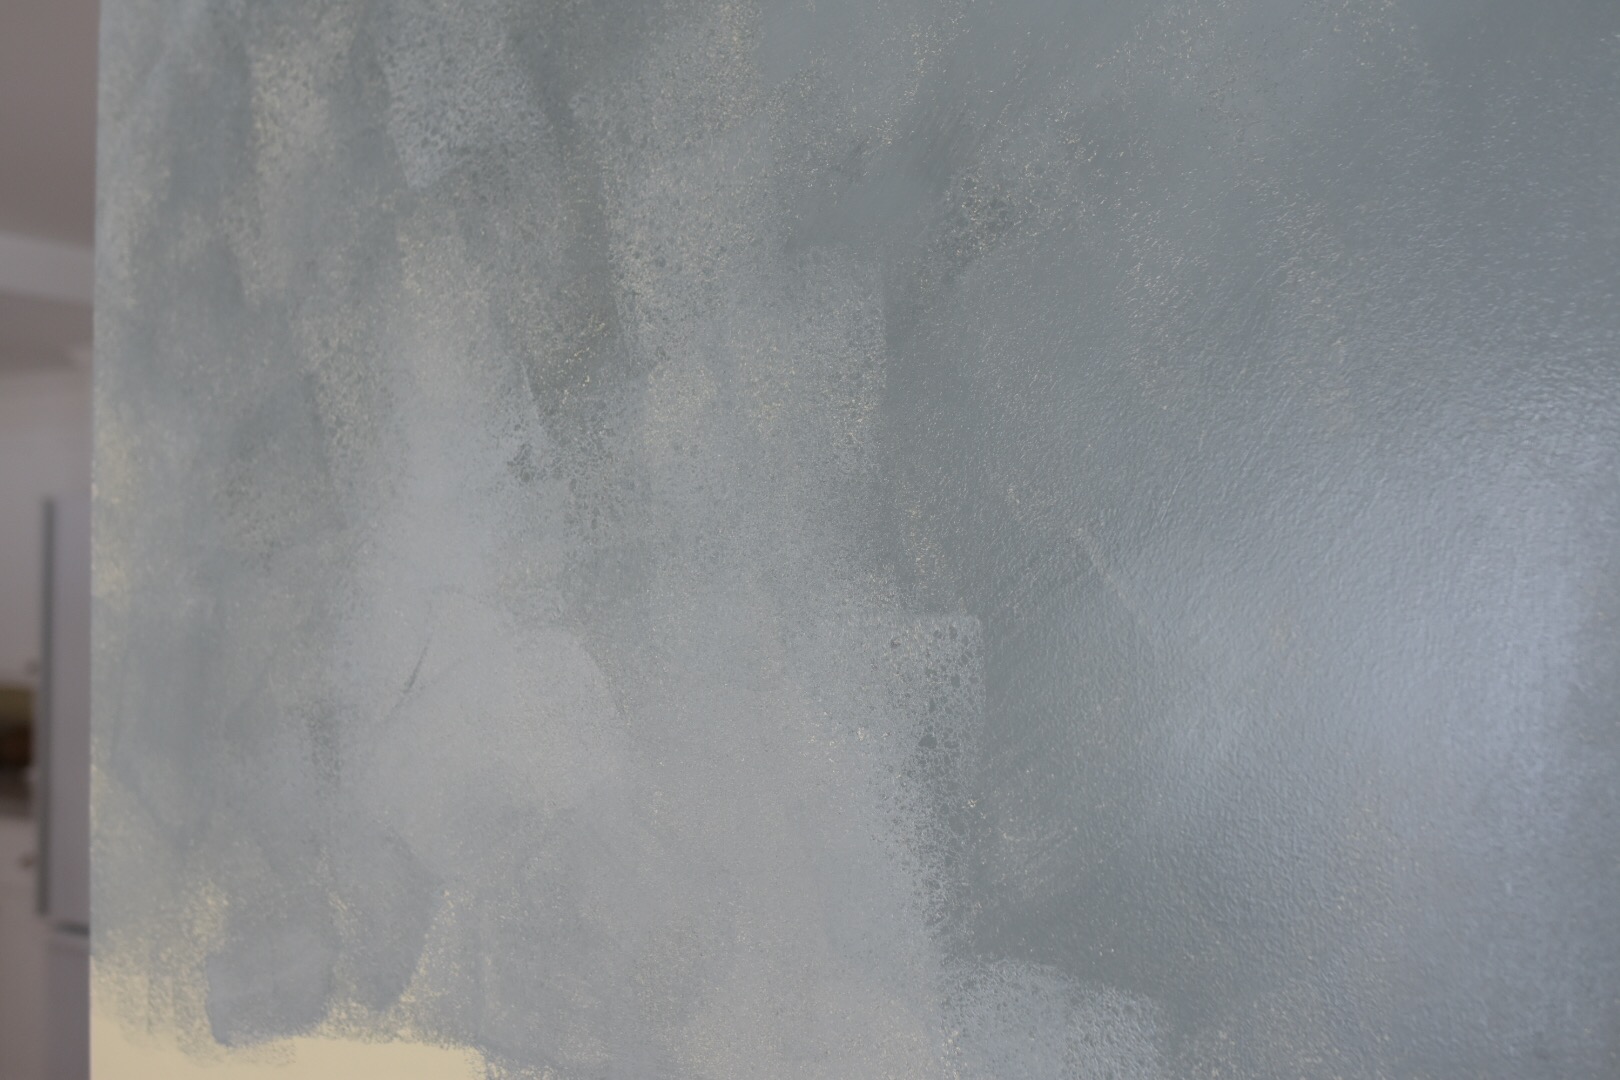
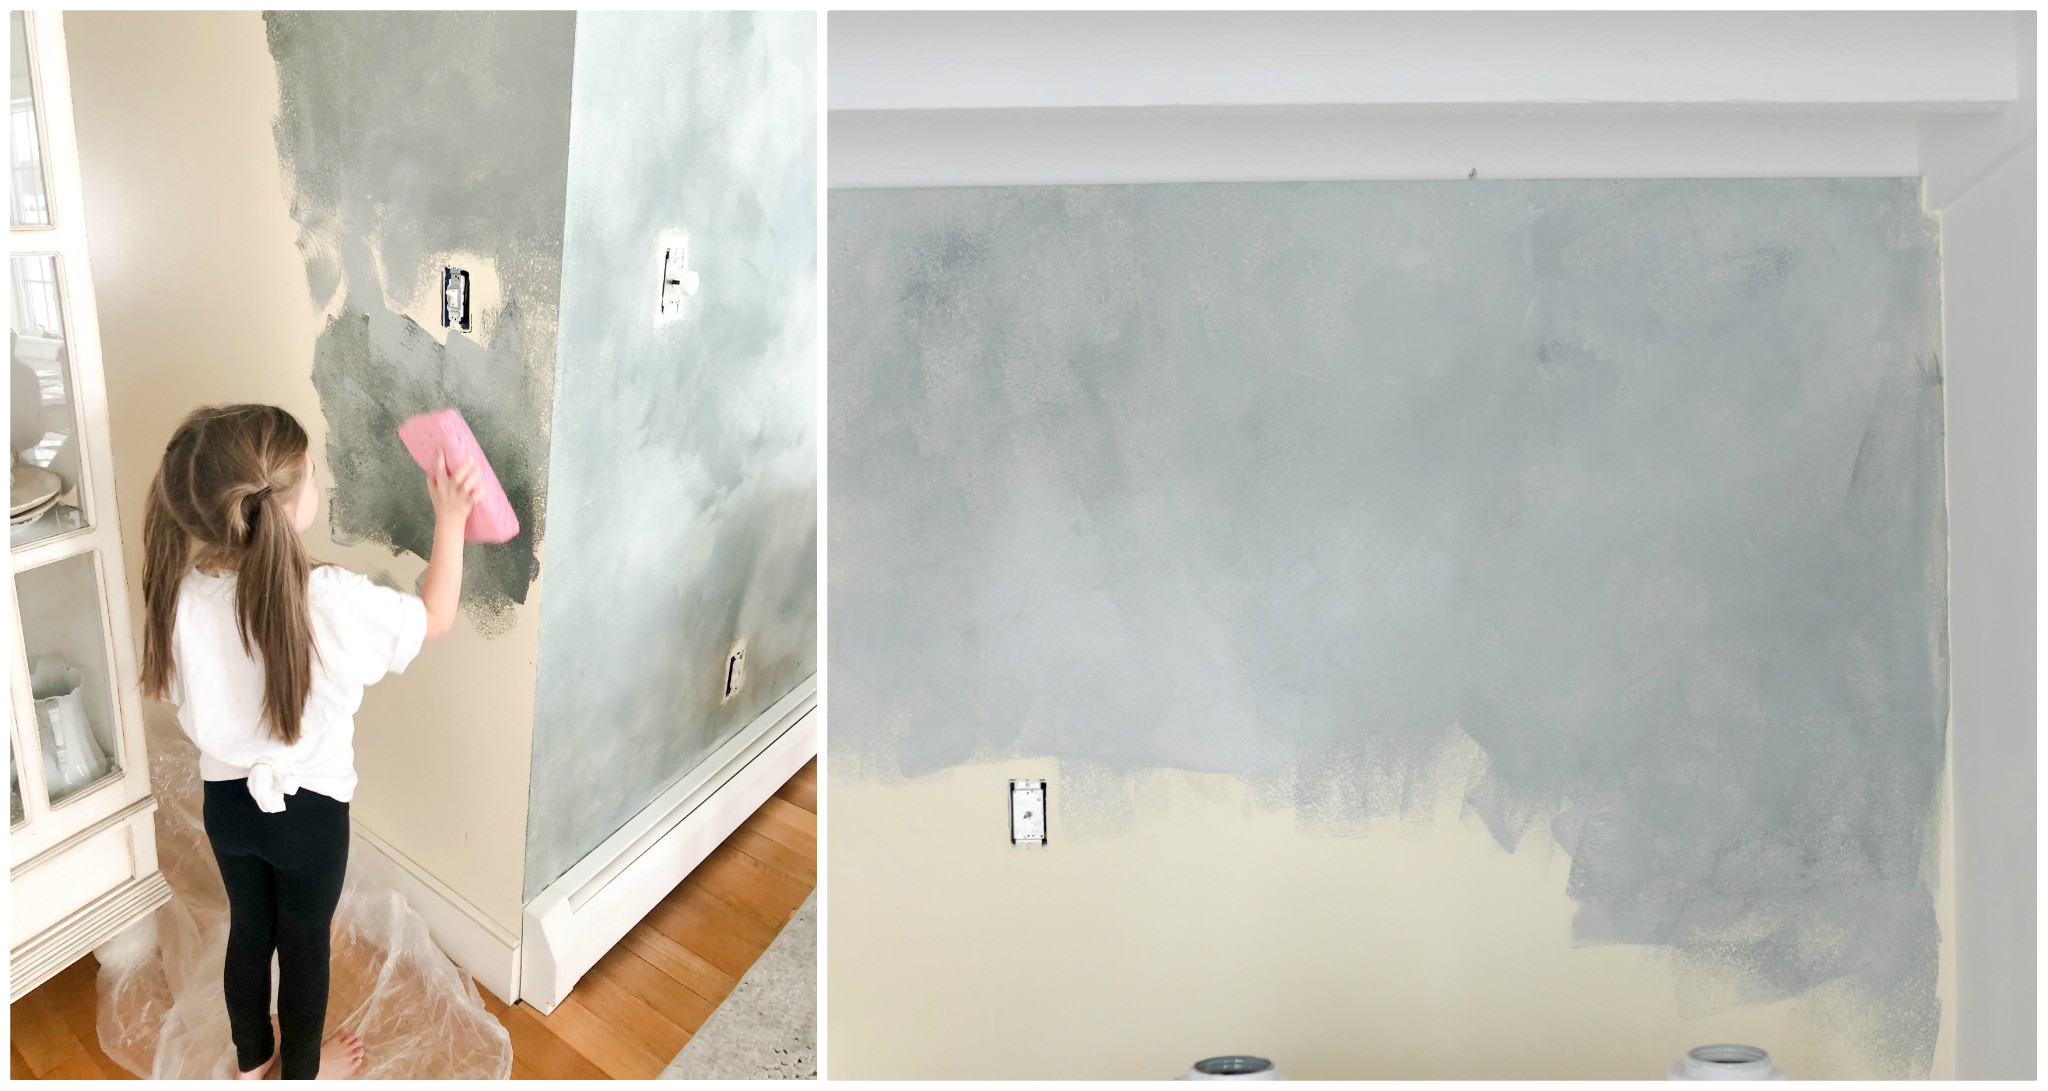
Once you’ve covered the entire wall, begin dry brushing with longer strokes, blending the sections together. If it seems a little dark in spots, add some of the lighter paint. And visa versa.
If too much paint begins building up on your “dry brush”, wipe it with a paper towel before continuing on.
Once I “finished” in other words I loved the way the overall texture looked, I found there was still just a little more yellow poking through in some areas. Since the wall was still pretty wet and I really didn’t want to add any more paint, I added about a teaspoon of water to my sponge a very lightly dabbed those yellow spot. This essentially made a thinned out paint layer that easily covered those “holes”.
Are you in need of more detailed directions? The entire process is saved on in my Instagram highlights, where I’m talking through the process and showing what I’m doing, as I’m doing it. Click here to instantly link to my Instagram page and watch “Dining Wall”.
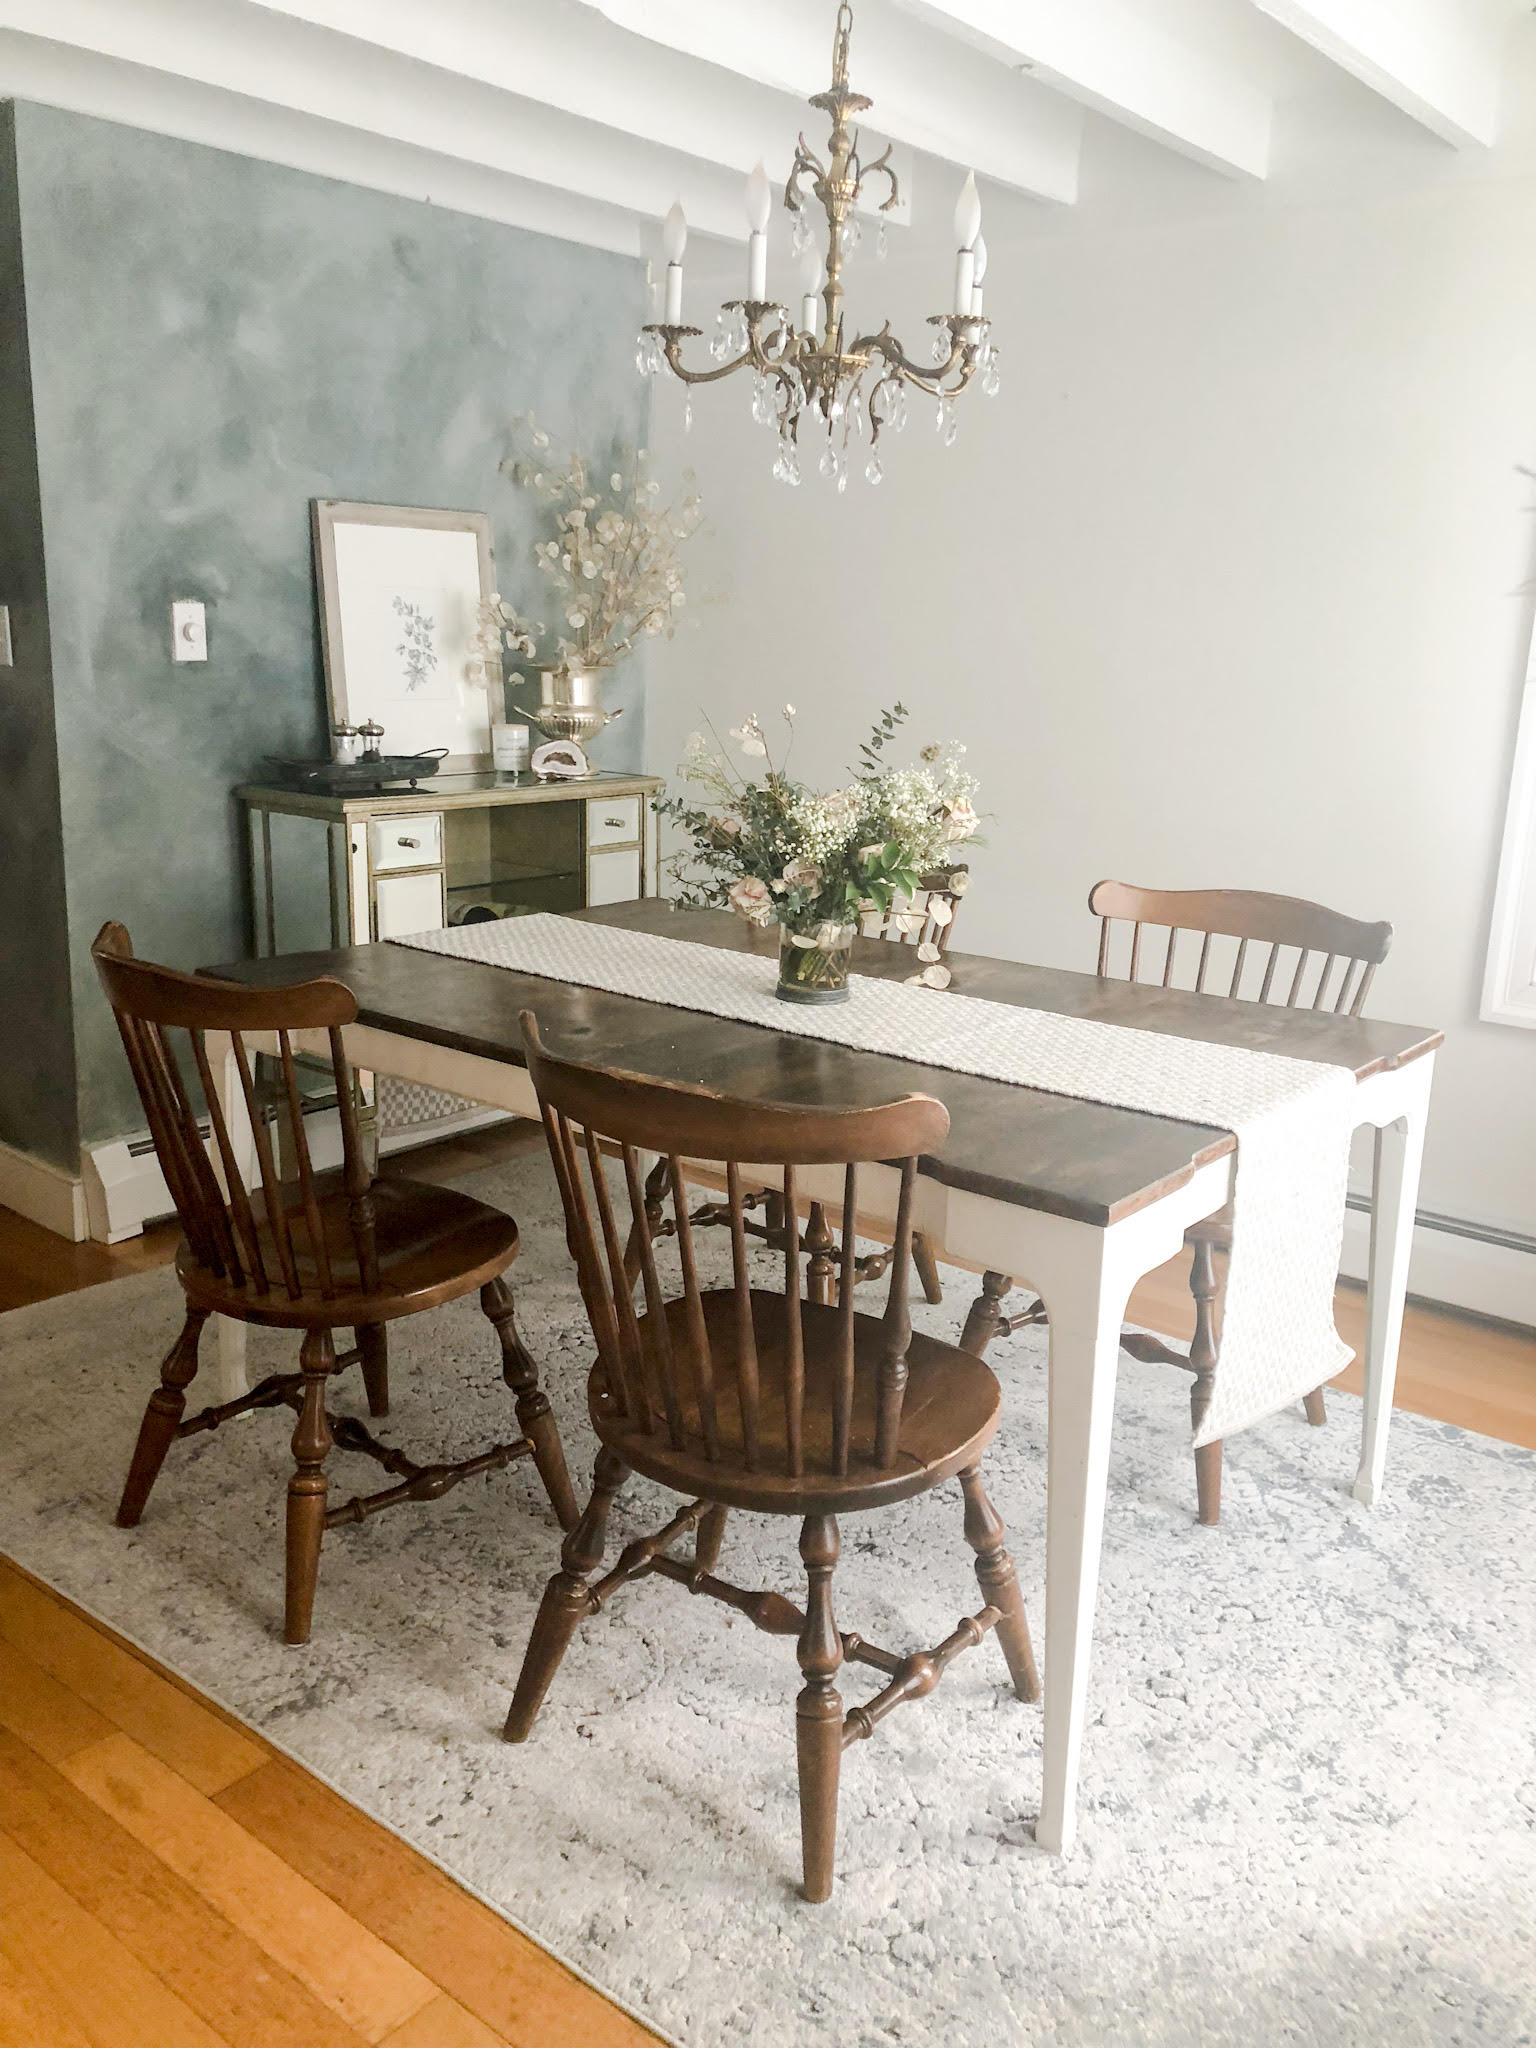
I don’t think there’s really a right or wrong way to accomplish this and you sort of just have to play with it a little until you’re happy with the result. I still have a little yellow that shows through here and there, but I like the extra dimension that it gives. I also underestimated the size of my light switch cover and a 1 1/2 years later still need to go back and touch up that area… but we’ll just put that on our someday list!

LEAVE A COMMENT
View Comments