Yesterday was the warmest day we’ve seen so far this year and it was as if the whole world simply came bursting back to life. Neighbors were in the streets, yards were being raked and the snow mounds bordering my lawn shrunk to the point that I can now see the tops of cars passing by my house. And guess what I found buried underneath some of that snow? Life! There, braving the ice and cold, are the little tips of my spring bulbs waiting for their time to bloom.
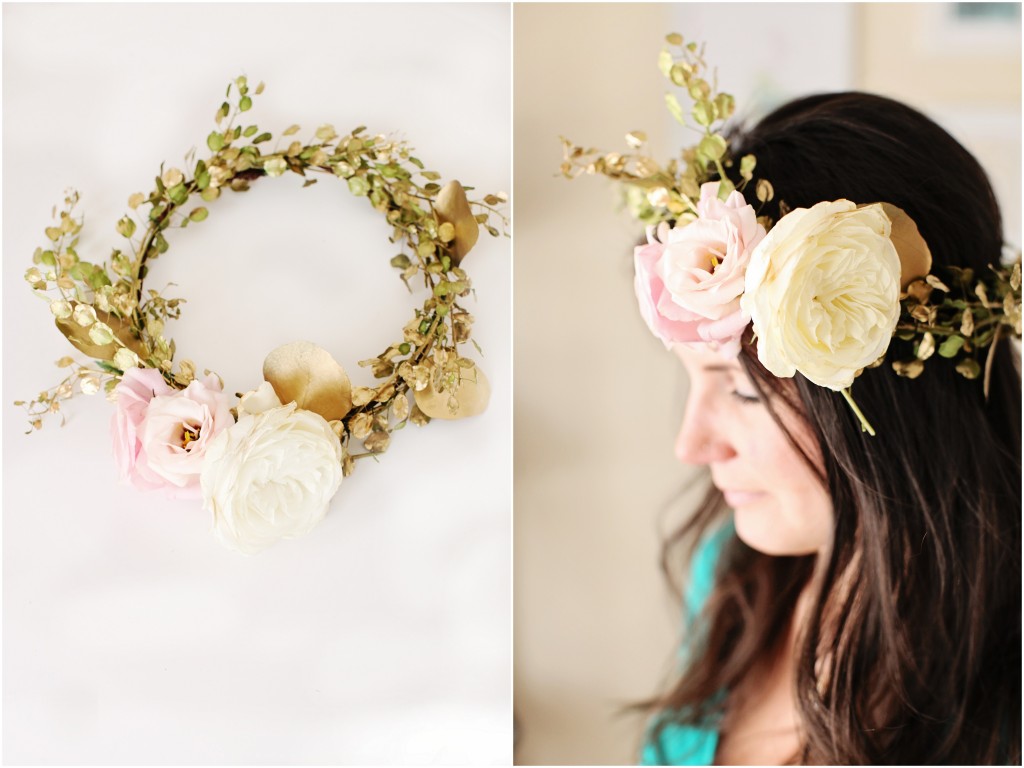
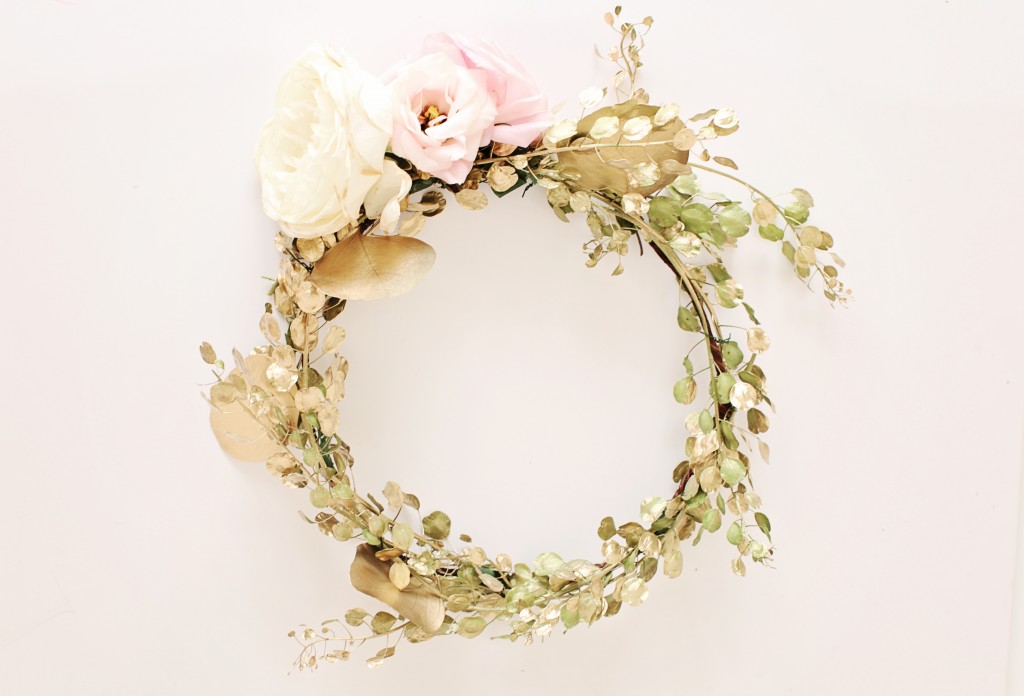
I’m eagerly awaiting that moment too. But until then, I thought I’d share a little bit of flowery goodness with you today and how you can create it yourself. I’m simply loving the floral crown trend right now and this one is especially glam with gilded gold leaves.
So here’s what you need:
Grapevine wire | Floral wire | Wire cutters | Floral tape | Flowers* | Greens*
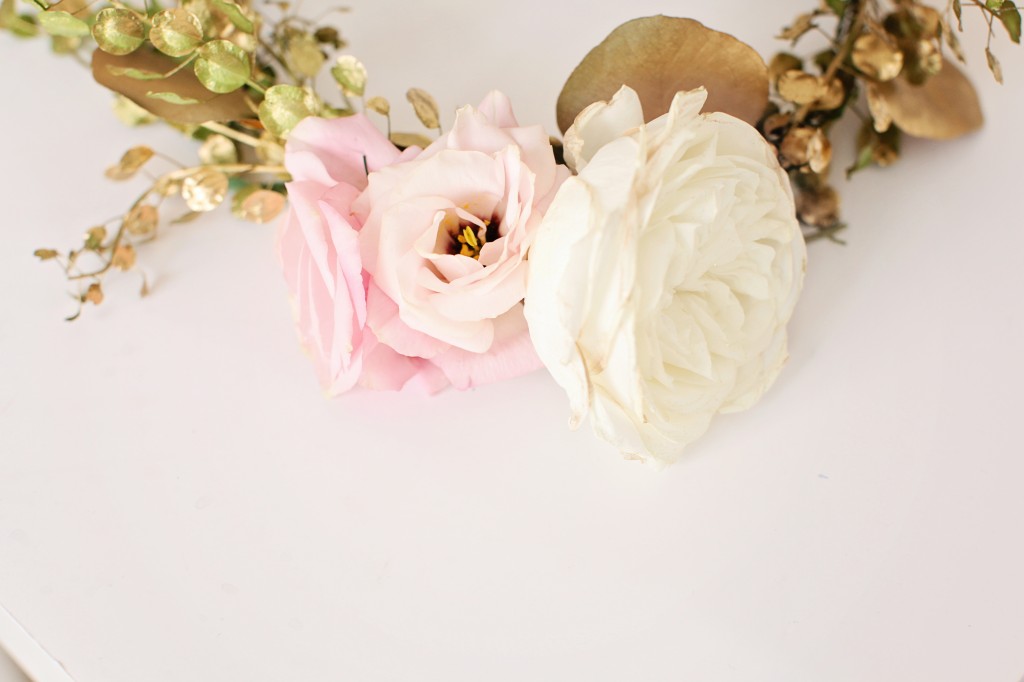
*I used one stem of pink lisianthus (which had two flowers) and a cream garden rose. For greens I used mini coin as my base and filled in with silver dollar eucalyptus – but the options are limitless, use what inspires you!
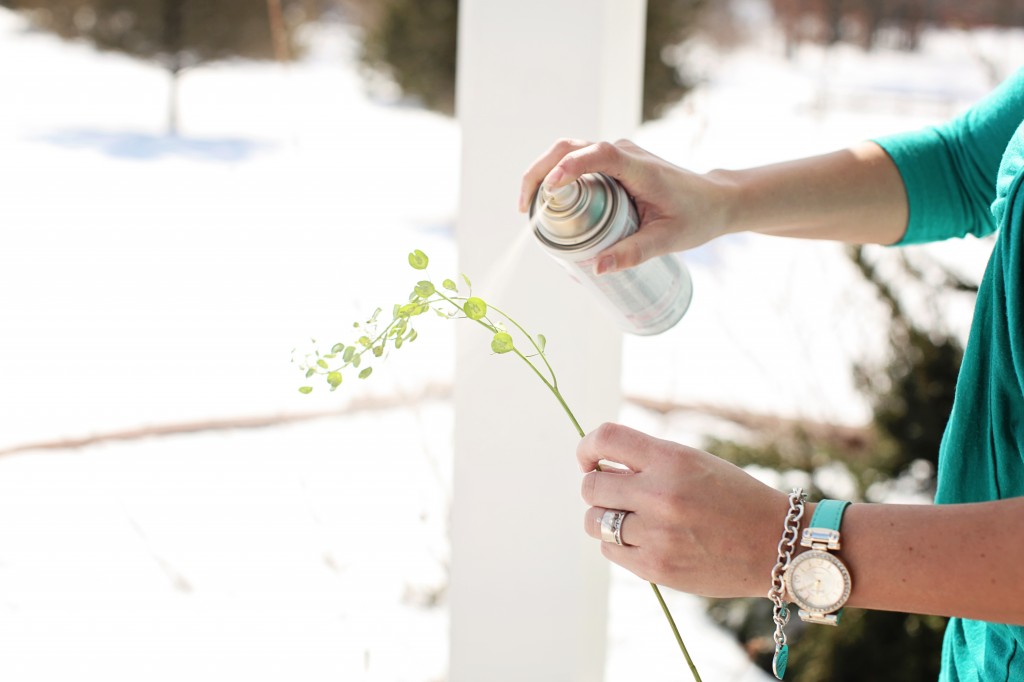
Step 1: Spray paint your greens. You can completely coat them or let a little green show. I like to leave a little nature shining through.
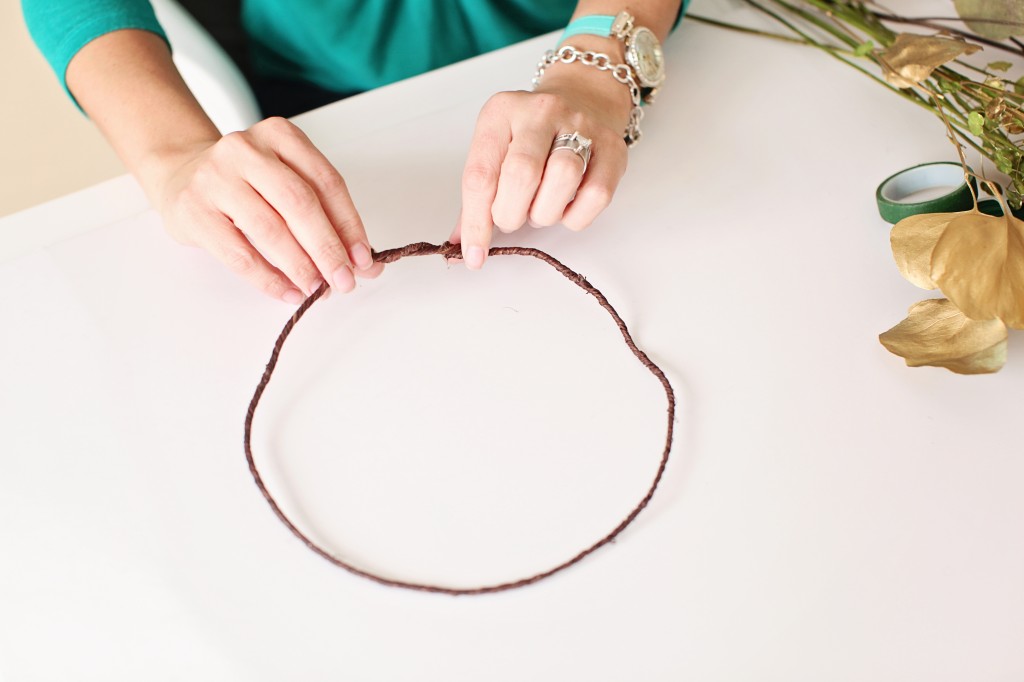
Step 2: Form a circular base with the grapevine wire. The form should be slightly larger than your head as once the greens are attached the fit will be more snug.
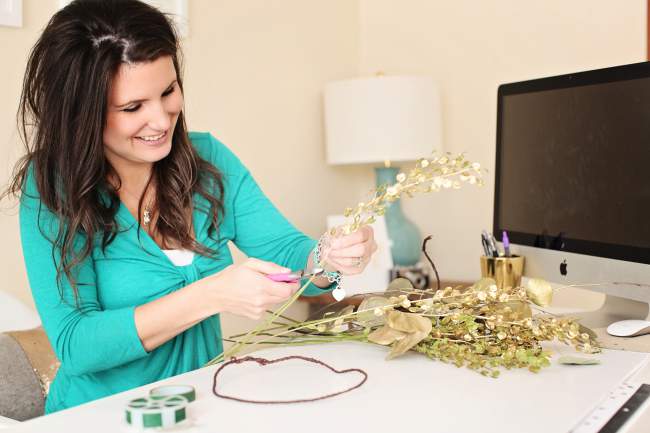
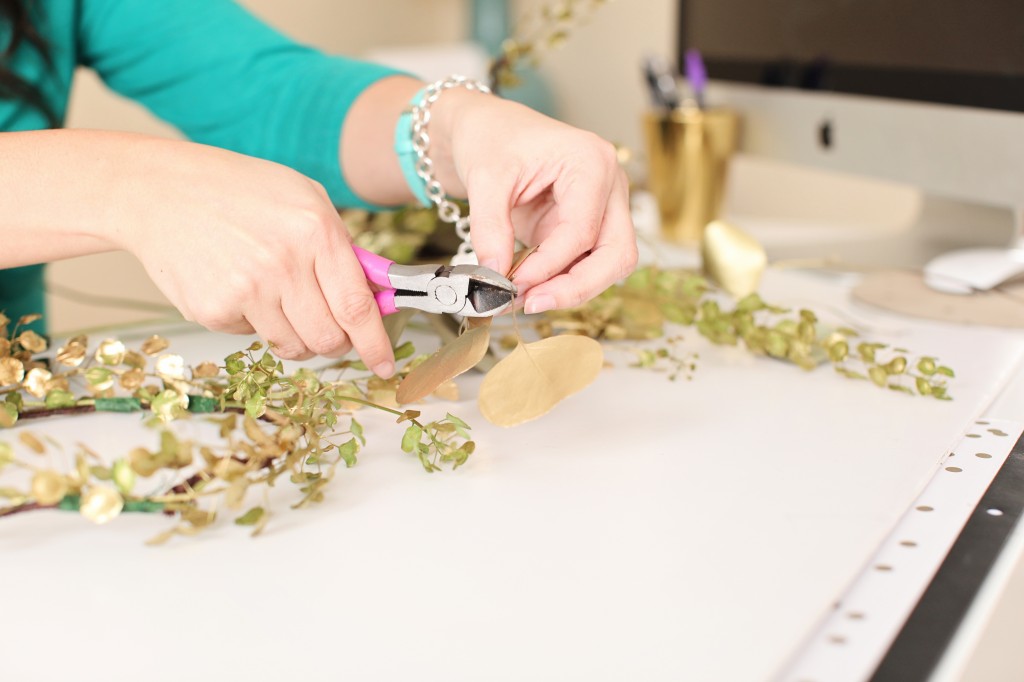
Step 3: Once the paint has dried, clip the long stems so only an inch or so remain, along with the leafy, pretty part of the plant.
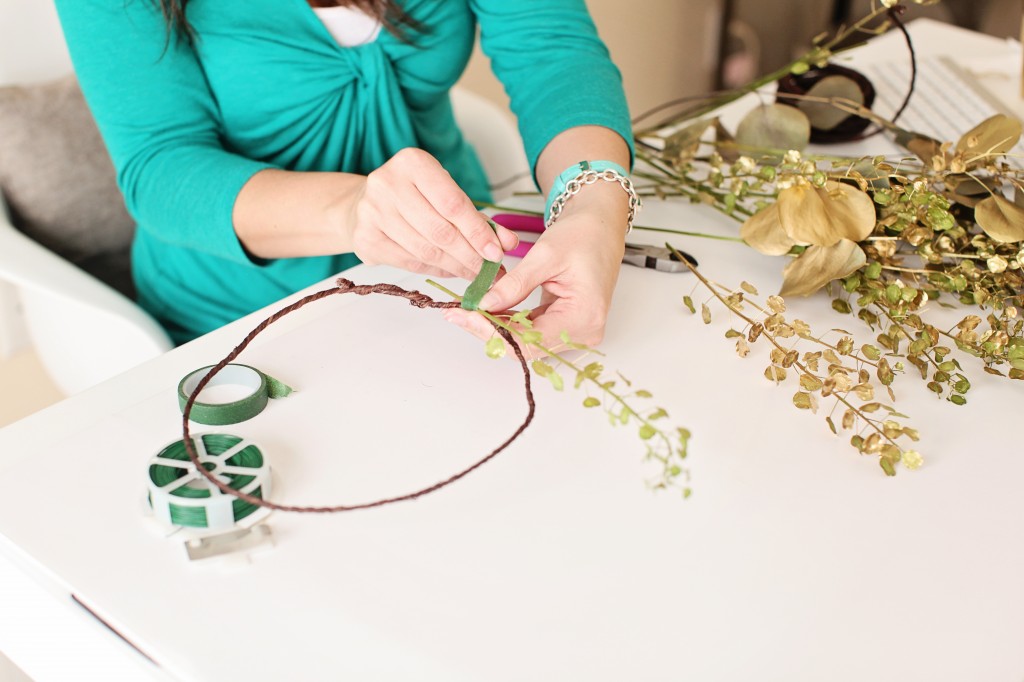
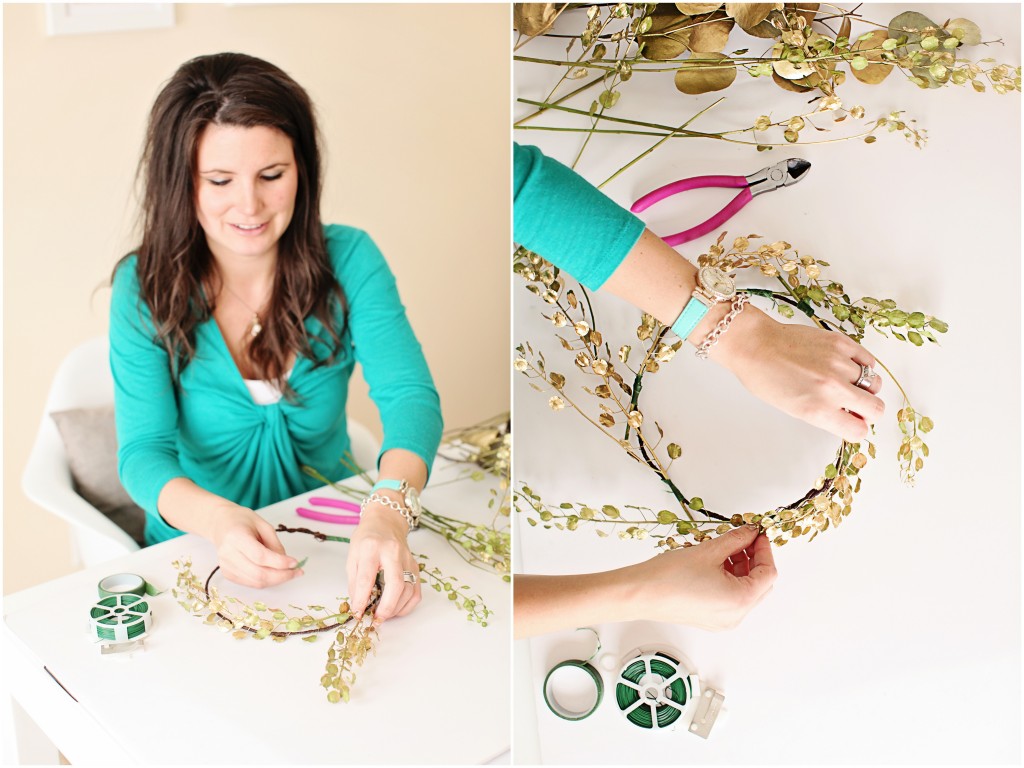
Step 4: Using floral tape, wrap the stem of the greens and attach it to the grapevine wire. Continue to attach stems to the grapevine wire, leaving the other end of the greens free until you have created a full circle of greens.
Step 5: Begin filling in the larger leaves, taping them to the grapevine wire. The larger leaves (eucalyptus) are optional, but I like the extra texture they add.
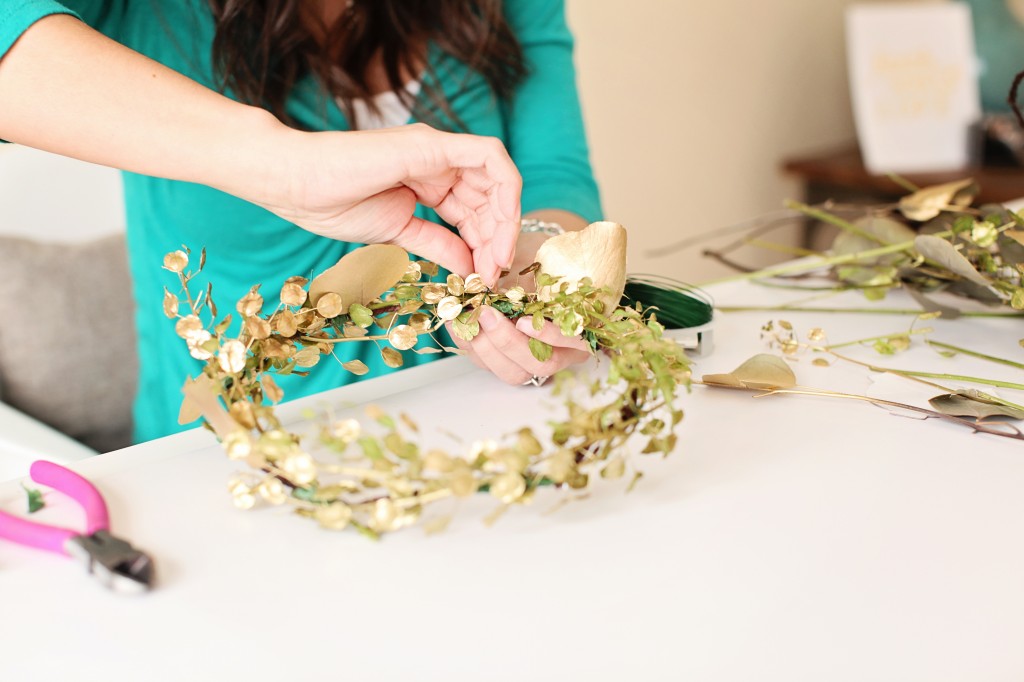
Step 6: With the small pieces of floral wire, attach the loose ends of the leaves to the crown so it creates a full and lovely circle. How tightly you attach the greens is up to you, a looser greens with create a more wild and relaxed look.
At this point you might choose to add an additional layer of gold paint which would help to camouflage any floral tape and wire.
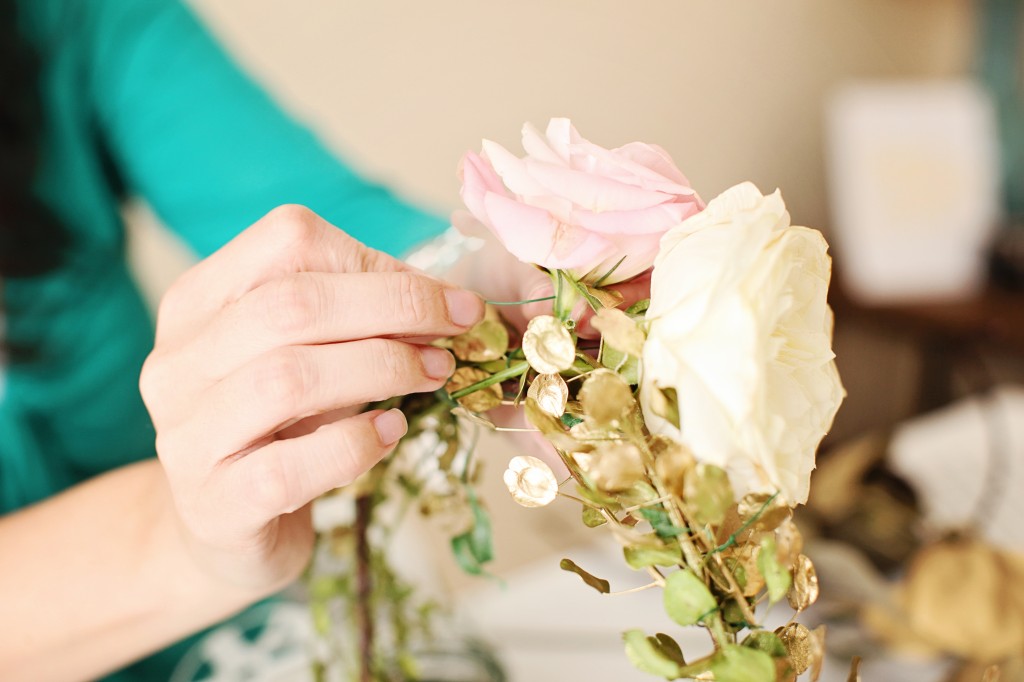
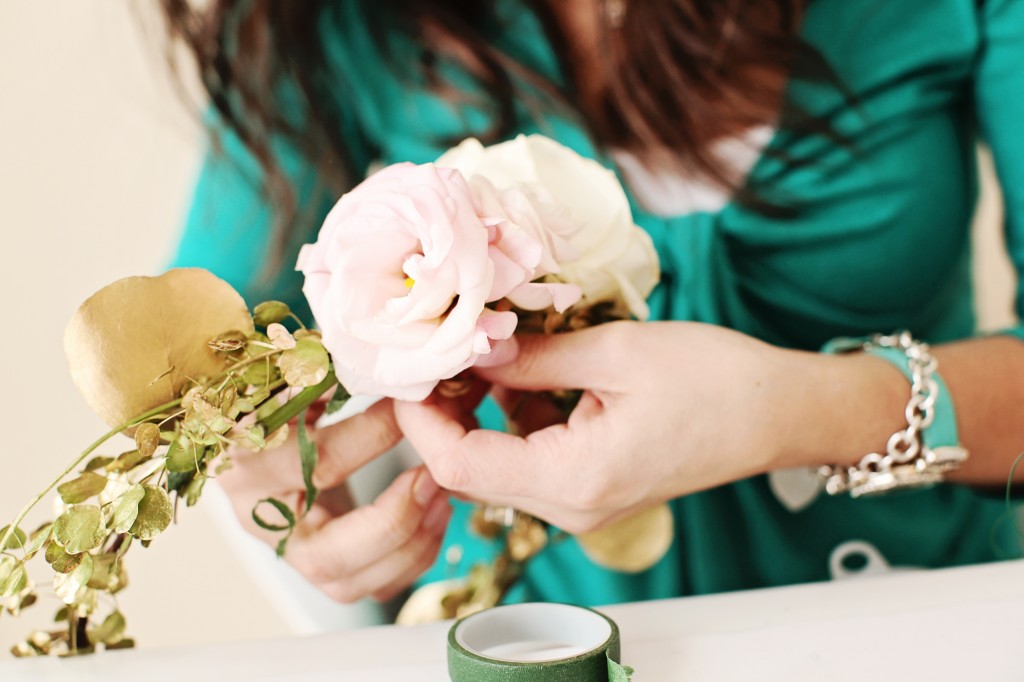
Step 7: Trim the stems and add flowers. I chose to place them off to the side, but the options are limitless. To add them – pierce the base of the bloom with the floral wire and then twist and attach to the crown.
Step 8: Wear your gold crown pretty lady!
All photos by the fabulous Ashley Slater Photography, thanks love!
0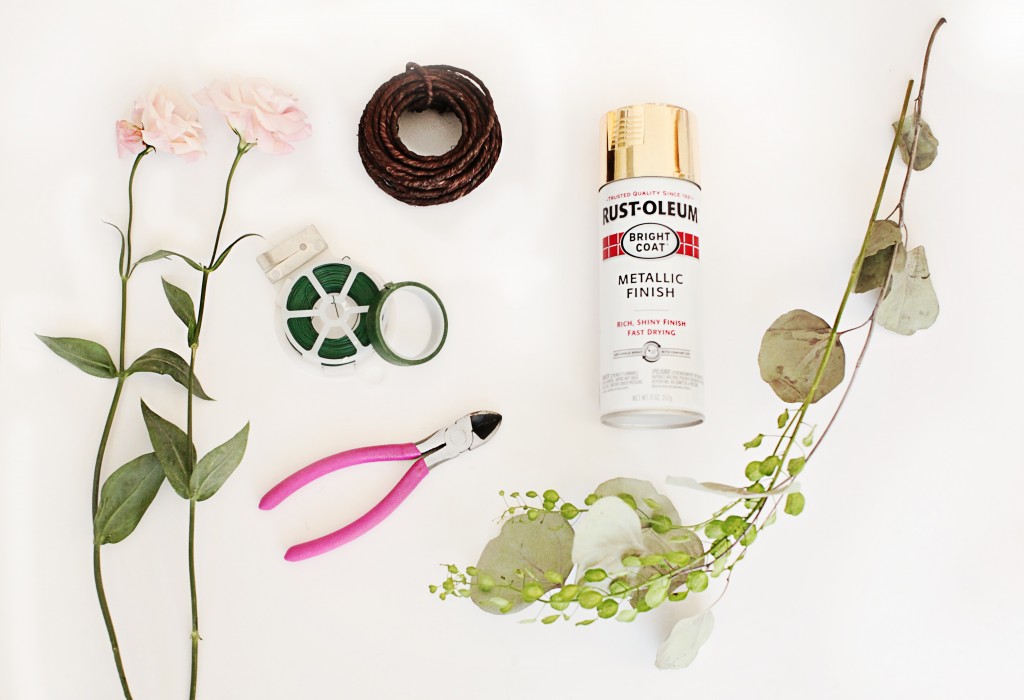
LEAVE A COMMENT
View Comments