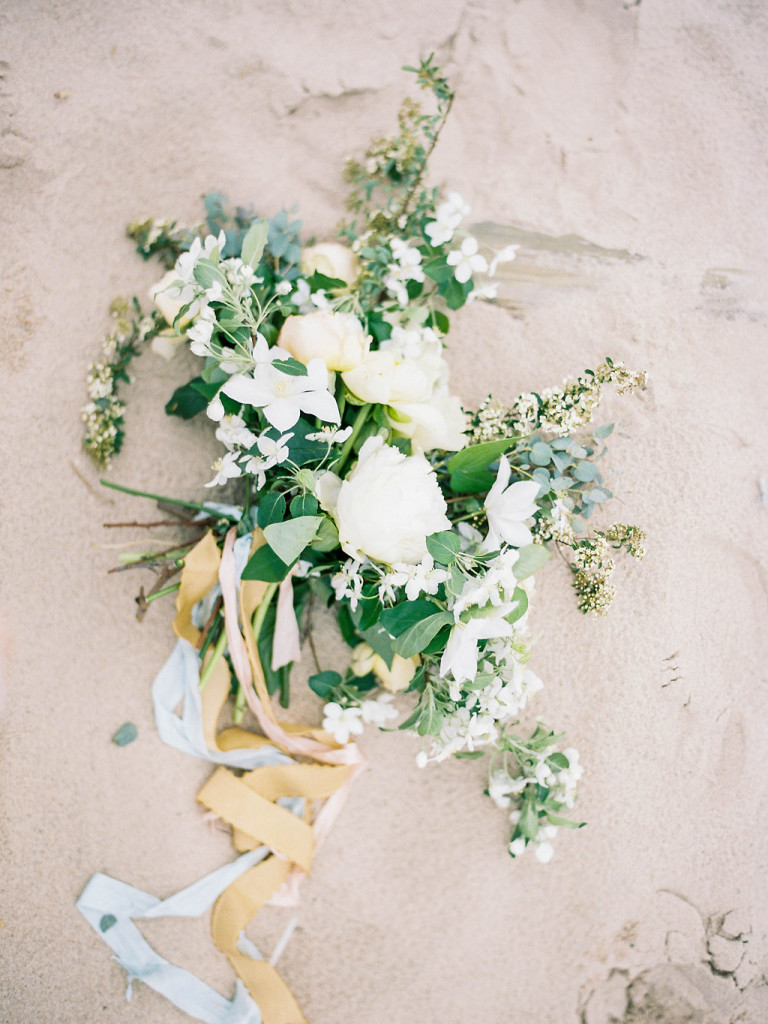
Photo: Ashley Slater Photography
I love ribbon. It’s actually really embarrassing how much ribbon I have stashed away in my basement. I could wrap Christmas presents for years before running out. But as with most things, my styles and preferences change and so I find myself favoring one particular type at a time, leaving the others behind.
Beyond wrapping presents, my obsession is really focused on bouquets and finding the most perfectly delicate spools to flow freely from your handful of gorgeous blooms. The right ribbon will complete everything, blow perfectly in the wind and continue the color story beyond where your eye naturally stops at that bottom petal.
As I’m designing with my clients I find that most either have a very strong preference on the type or color of ribbon used throughout their event or they really don’t care much at all, which leaves that detail up to my choosing (which puts a lot of pressure on me… but I love it!) So here’s a little more on that subject, the most common places that ribbons are used throughout designs and how to make the best selection for each of these areas.
The Bouquets
I’ll start with the most obvious. Regardless of what service my clients hire me for, the subject of ribbons for the bouquets always comes up. And the conversation runs much deeper than just popping into Hobby Lobby to pick up a 50% off spool. There’s so much to consider.
Do you want long, flowy ribbons or do you prefer nice, neatly trimmed and shorter tails? Would you prefer multiple layers? Do you want your bouquets tied with a bow? It is necessary for your ribbons to match your blooms or dresses? What other elements are including ribbon throughout the design?
My preferences lean towards long, flowy trailing ribbons on each and every bouquet with multiple layers. I like big bouquets so I think a large amount of ribbon seems appropriate to balance that. Most weddings I’m a part of have a least a portion of the day outside or plans to have portraits taken al fresco and the sight of ribbons freely blowing in the wind makes me weak in the knees, so I like lightweight options that will make that fantasy a reality.
A fairly common practice is to tie the bride’s bouquet with a big, beautiful bow. While I do occasionally accessorize the bouquet like this, more often, I just loop a couple of ribbons together which I will then pin on the front of the bouquets once on site, as not to get them too wet during transport. It’s a slightly more casual approach, but no less elegant and I don’t agonize over creating the most prefect bow (which I am way too picky about!) Whether I choose loops or a bow, I always tend to place them slightly to the left. I’m asymmetrical in nature, so bridesmaids always get the “how to carry a bouquet” speech from me as I’m handing them out. I don’t want them facing that main ribbon straight forward therefore showing off the side of their bouquets.
Color also needs to be considered. In a perfect world, the ribbons should accent the flowers, stand out from the dresses and still blend with the overall design of the day. Just because your colors are navy and white, does not mean you need to use navy ribbons, especially if your girls are wearing navy dresses – you’ll never even see the streamers hanging down. Select a color that will compliment – perhaps silver or gold or white, or another neutral. Then as the bride, you could choose to use navy ribbons if you want a bold, different look or you could also stick with the more neutral tone of the bridesmaids’ ribbons, just keeping in mind what they’ll look like in front of your white dress.
Stationary Pieces
It really pains me when people put all this thought and care into choosing the ribbons for their personal flowers (or allow me to put all this time and effort into choosing) and then just make a willy nilly selection when it comes to choosing what will be accenting their invitations and/or menu cards. This is the ribbon that people are actually going to touch. One day someone came over and was poking through my goodies and found one of my silk ribbons “It feels like butter!” she exclaimed and she couldn’t stop touching it. What if all of your guests had that reaction? Wouldn’t that make your paper goodies seem that much more luxurious and special?
A couple other thoughts, watch what the ribbons will be placed up against – paper colors, napkins, etc. Then consider the texture of the ribbon and how it might tie. If you’re making bows, does it form one easily or do you really have to fuss with it? Do you want to fuss with 150 bows? Or is it really pretty just casually knotted? How will it look after it’s been crammed in an envelope for 3 days before your guests open it?
Styling Pieces
A great way to style details and add a little extra flair is use the same ribbons throughout. Having extra scraps for the photographer to style the invitations suite with, tie the chair back signs or simply have flowing across the cake table. These small details really do make a huge impact.
Obviously there are a 100 other places you can use ribbons and you have to consider the cost and amount of ribbons you need. Save the most special and luxurious pieces for the places it will be most noticed – highly photographed portions of the day and places where guests will touch it. Most importantly – focus on what details matter most to you.
0
LEAVE A COMMENT
View Comments